Whatever it is, Deflasking is never a dull moment
OUR SECRET TO A SUCCESS
-
1. Preparation
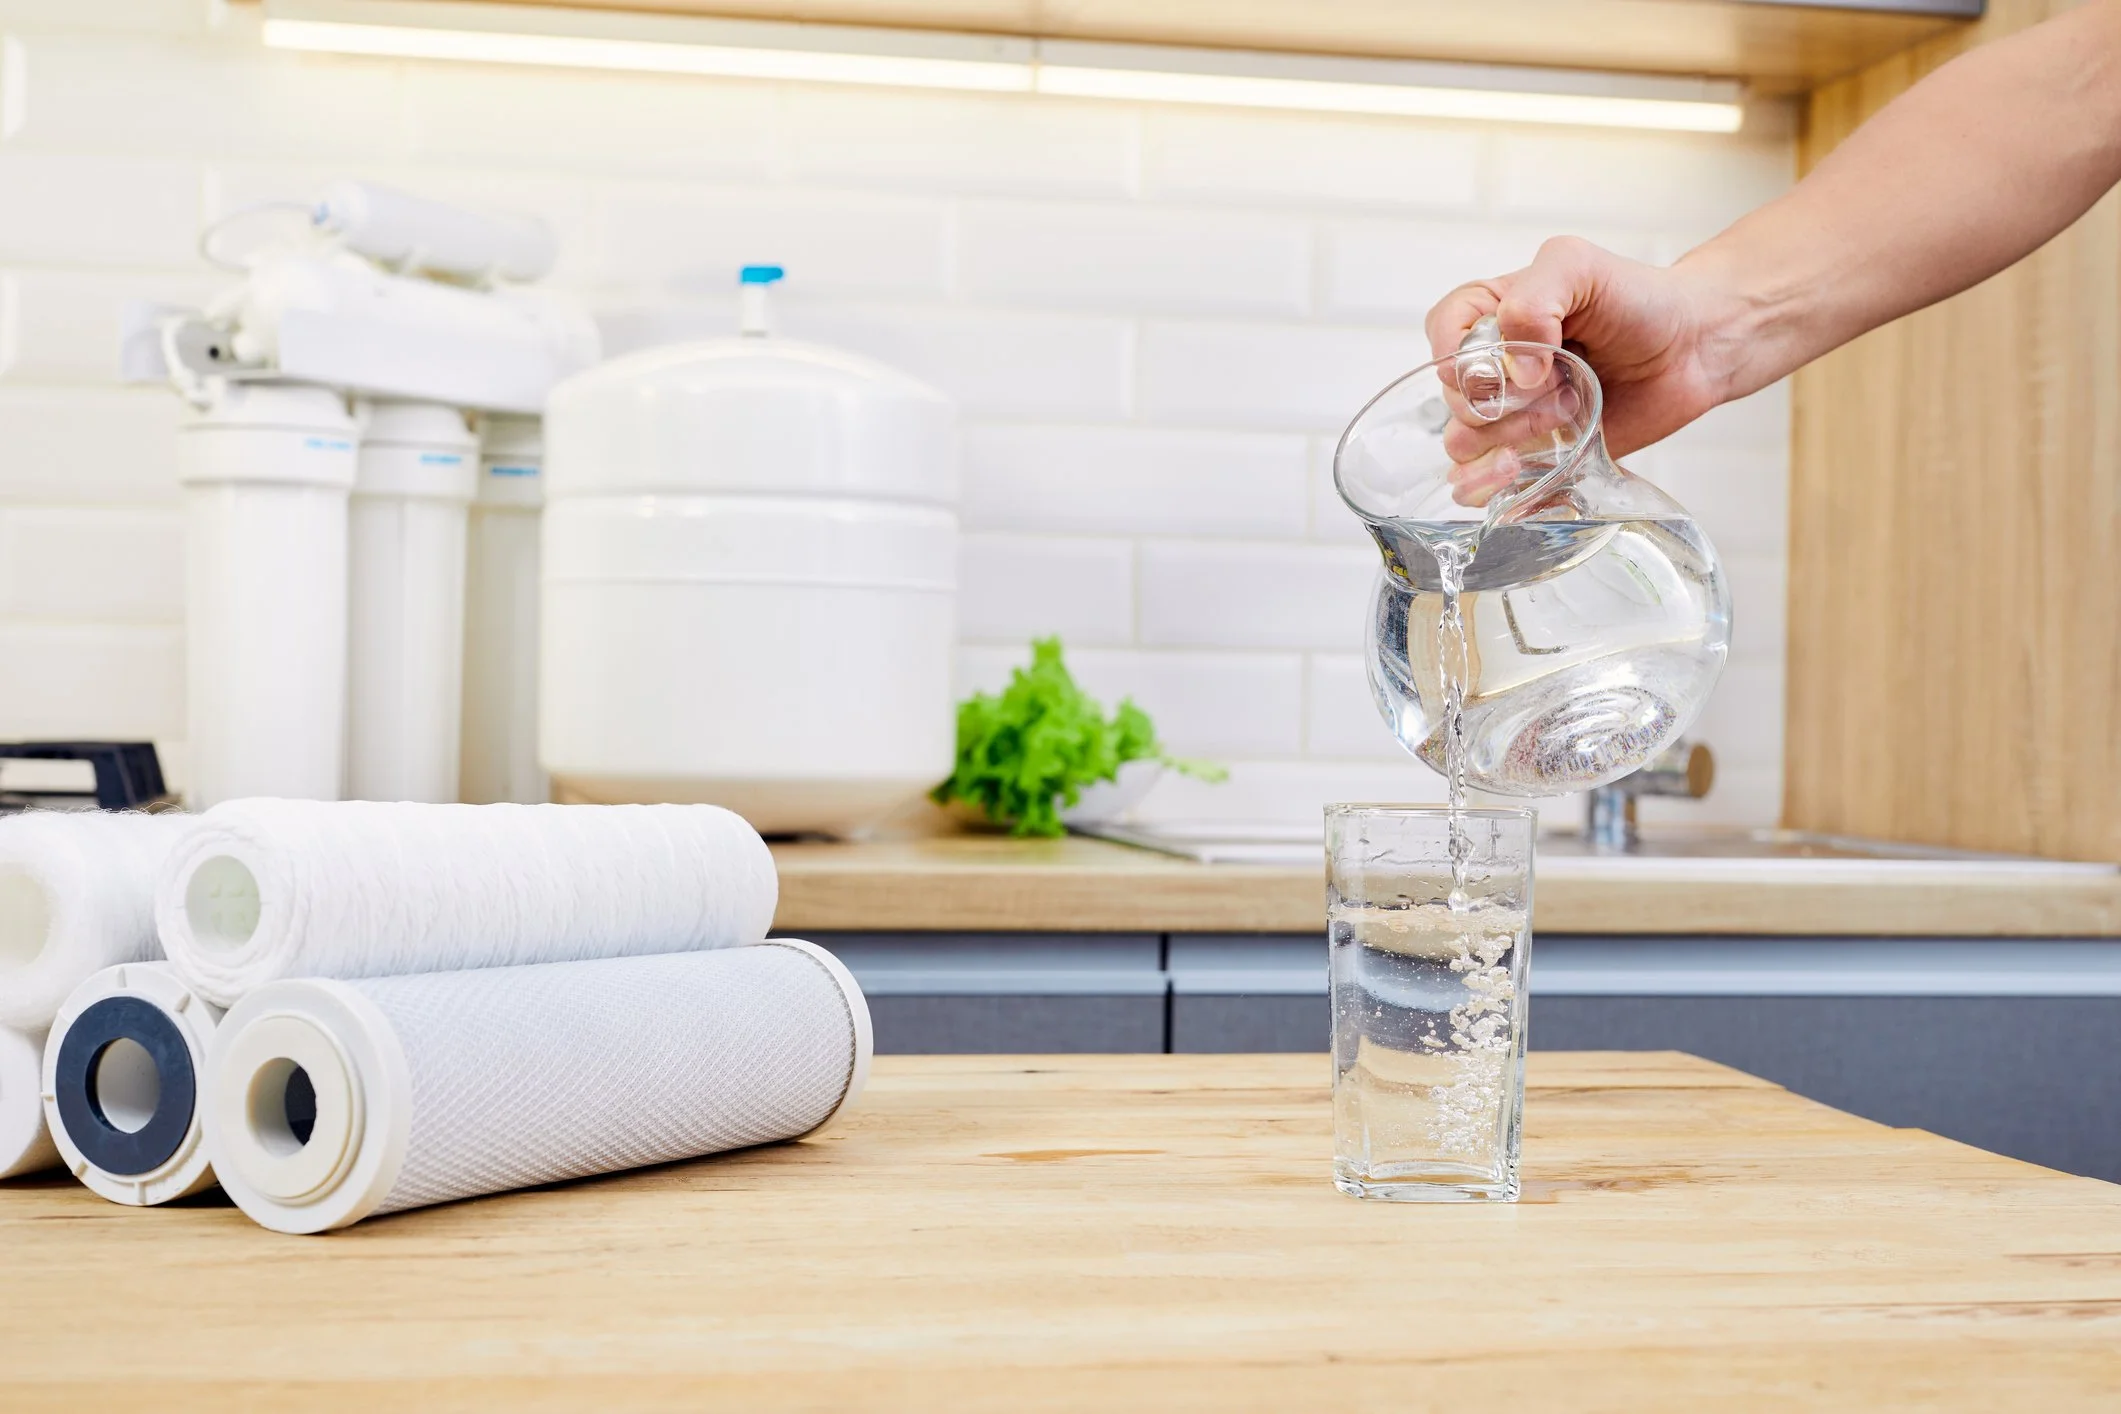
Sanitize all containers and tools
Thoroughly clean and sanitize any bowls, containers, tools, and surfaces that will come into contact with the plant. This helps minimize contamination during the acclimation process.Prepare filtered water baths
Fill 2–3 clean bowls with room-temperature filtered water.Use 2 bowls for standard cleaning
Use 3 bowls for more thorough rinsing (recommended)
-
2. Deflasking & Cleaning
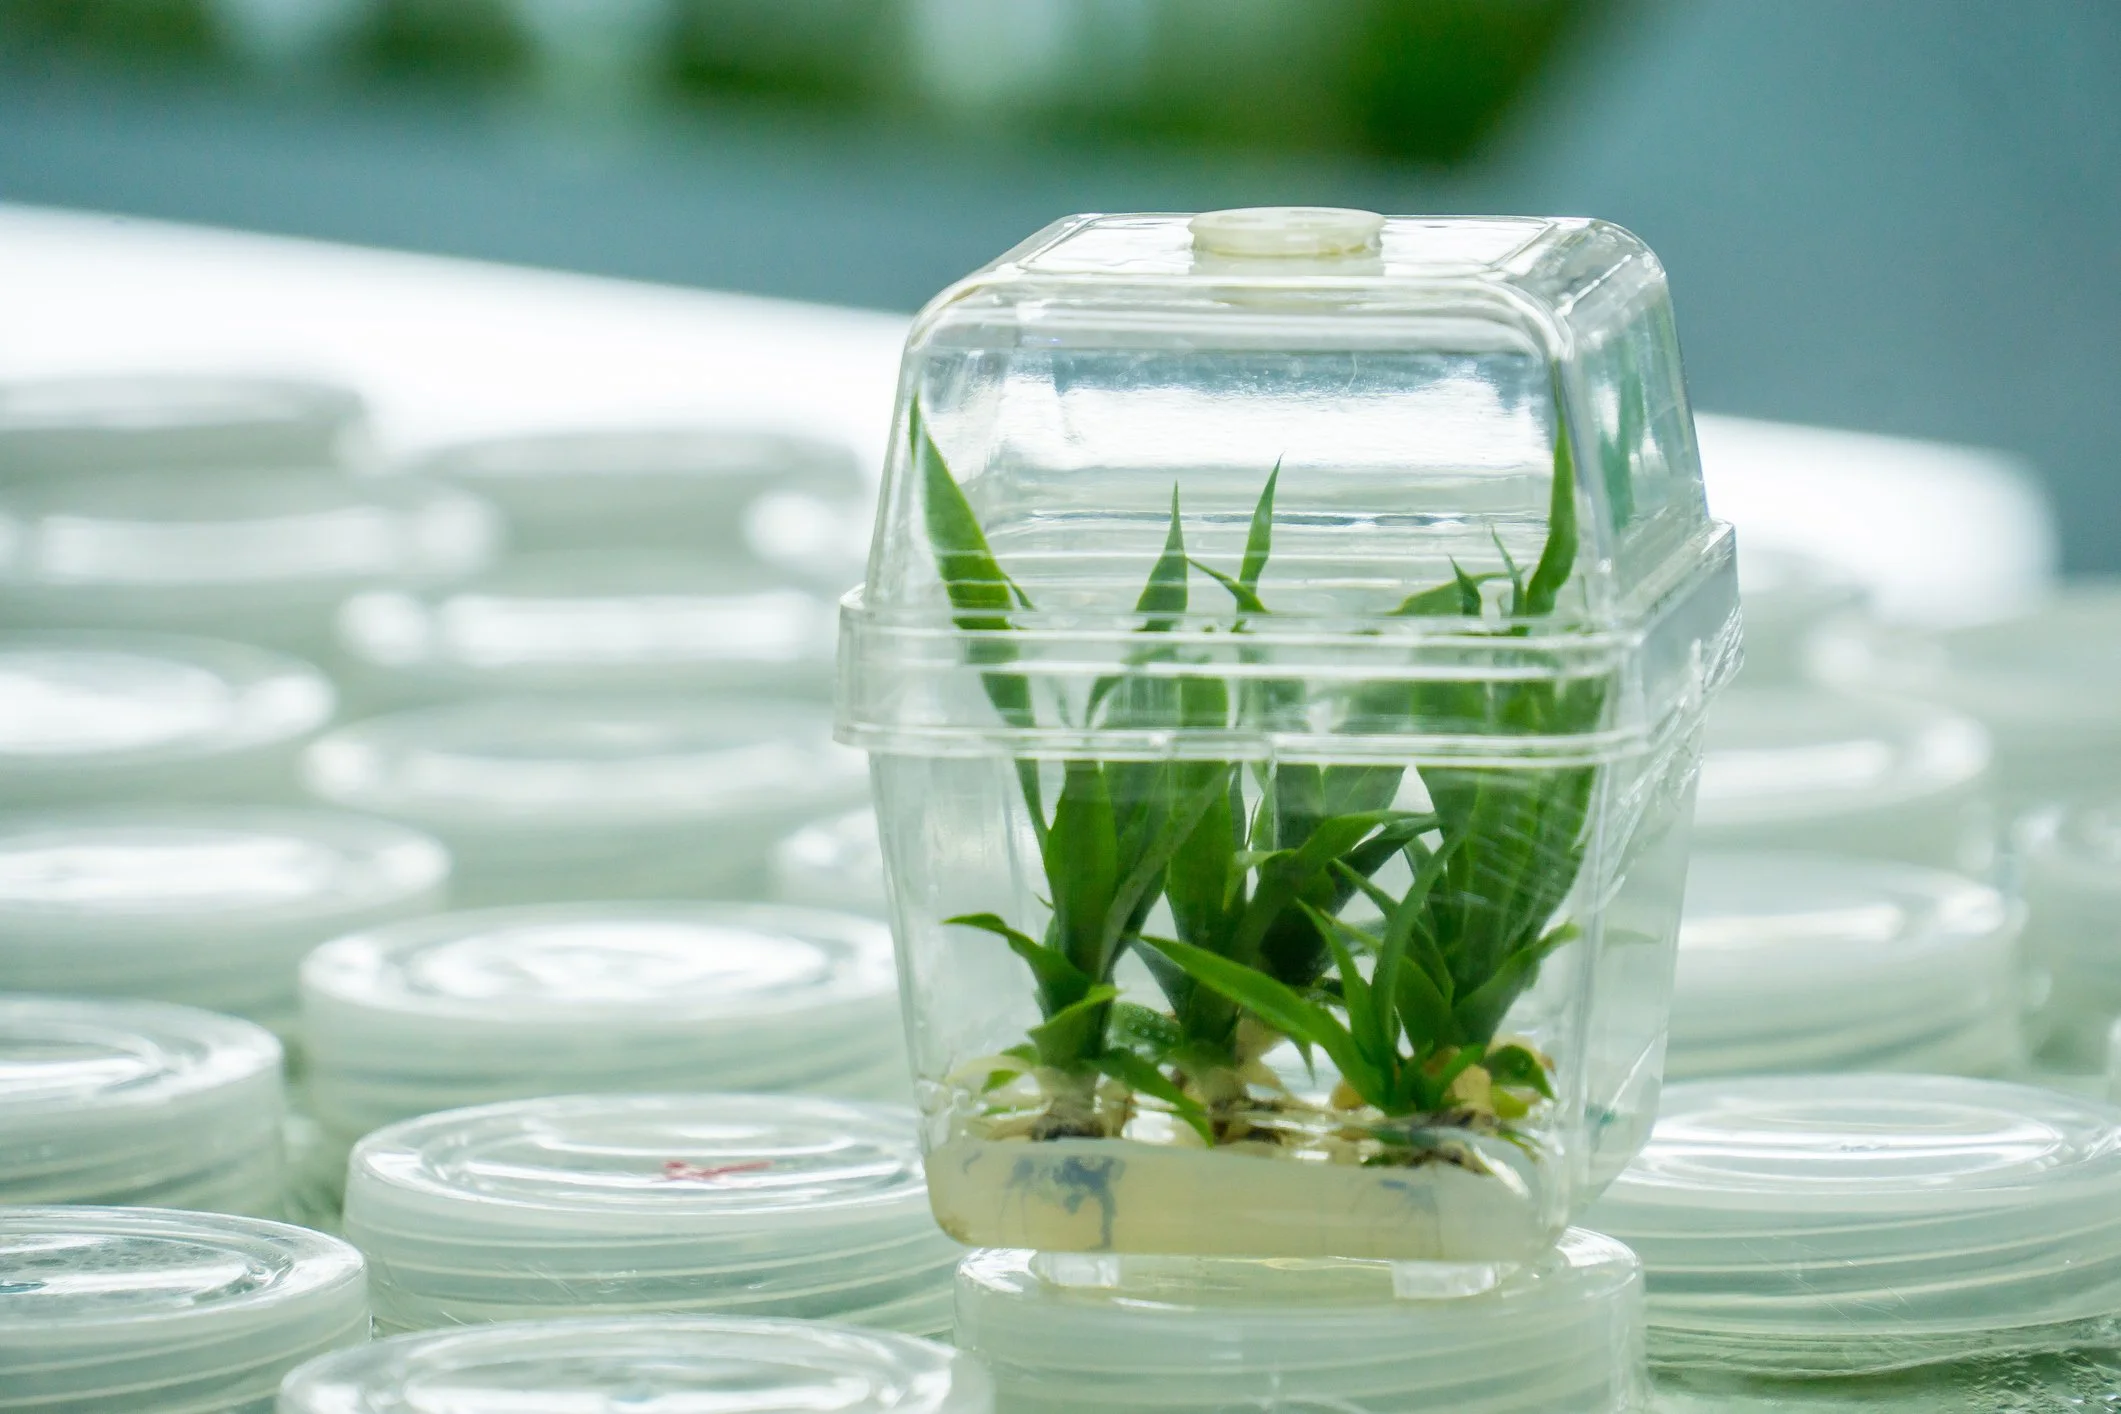
Open the tissue culture container
Carefully open the tissue culture bag or vessel to avoid damaging the plant.Initial rinse
Gently remove the plant and place it into the first bowl of water.Remove agar from roots
Carefully clean off all agar (gel medium) from the roots:Use your fingers for gentle removal
A soft toothbrush can be used if needed
Avoid excessive force to prevent root damage
Second rinse
Transfer the plant to the second bowl of clean water and rinse again to remove any remaining agar residue. -
3. Sanitization Step (Optional but Recommended)
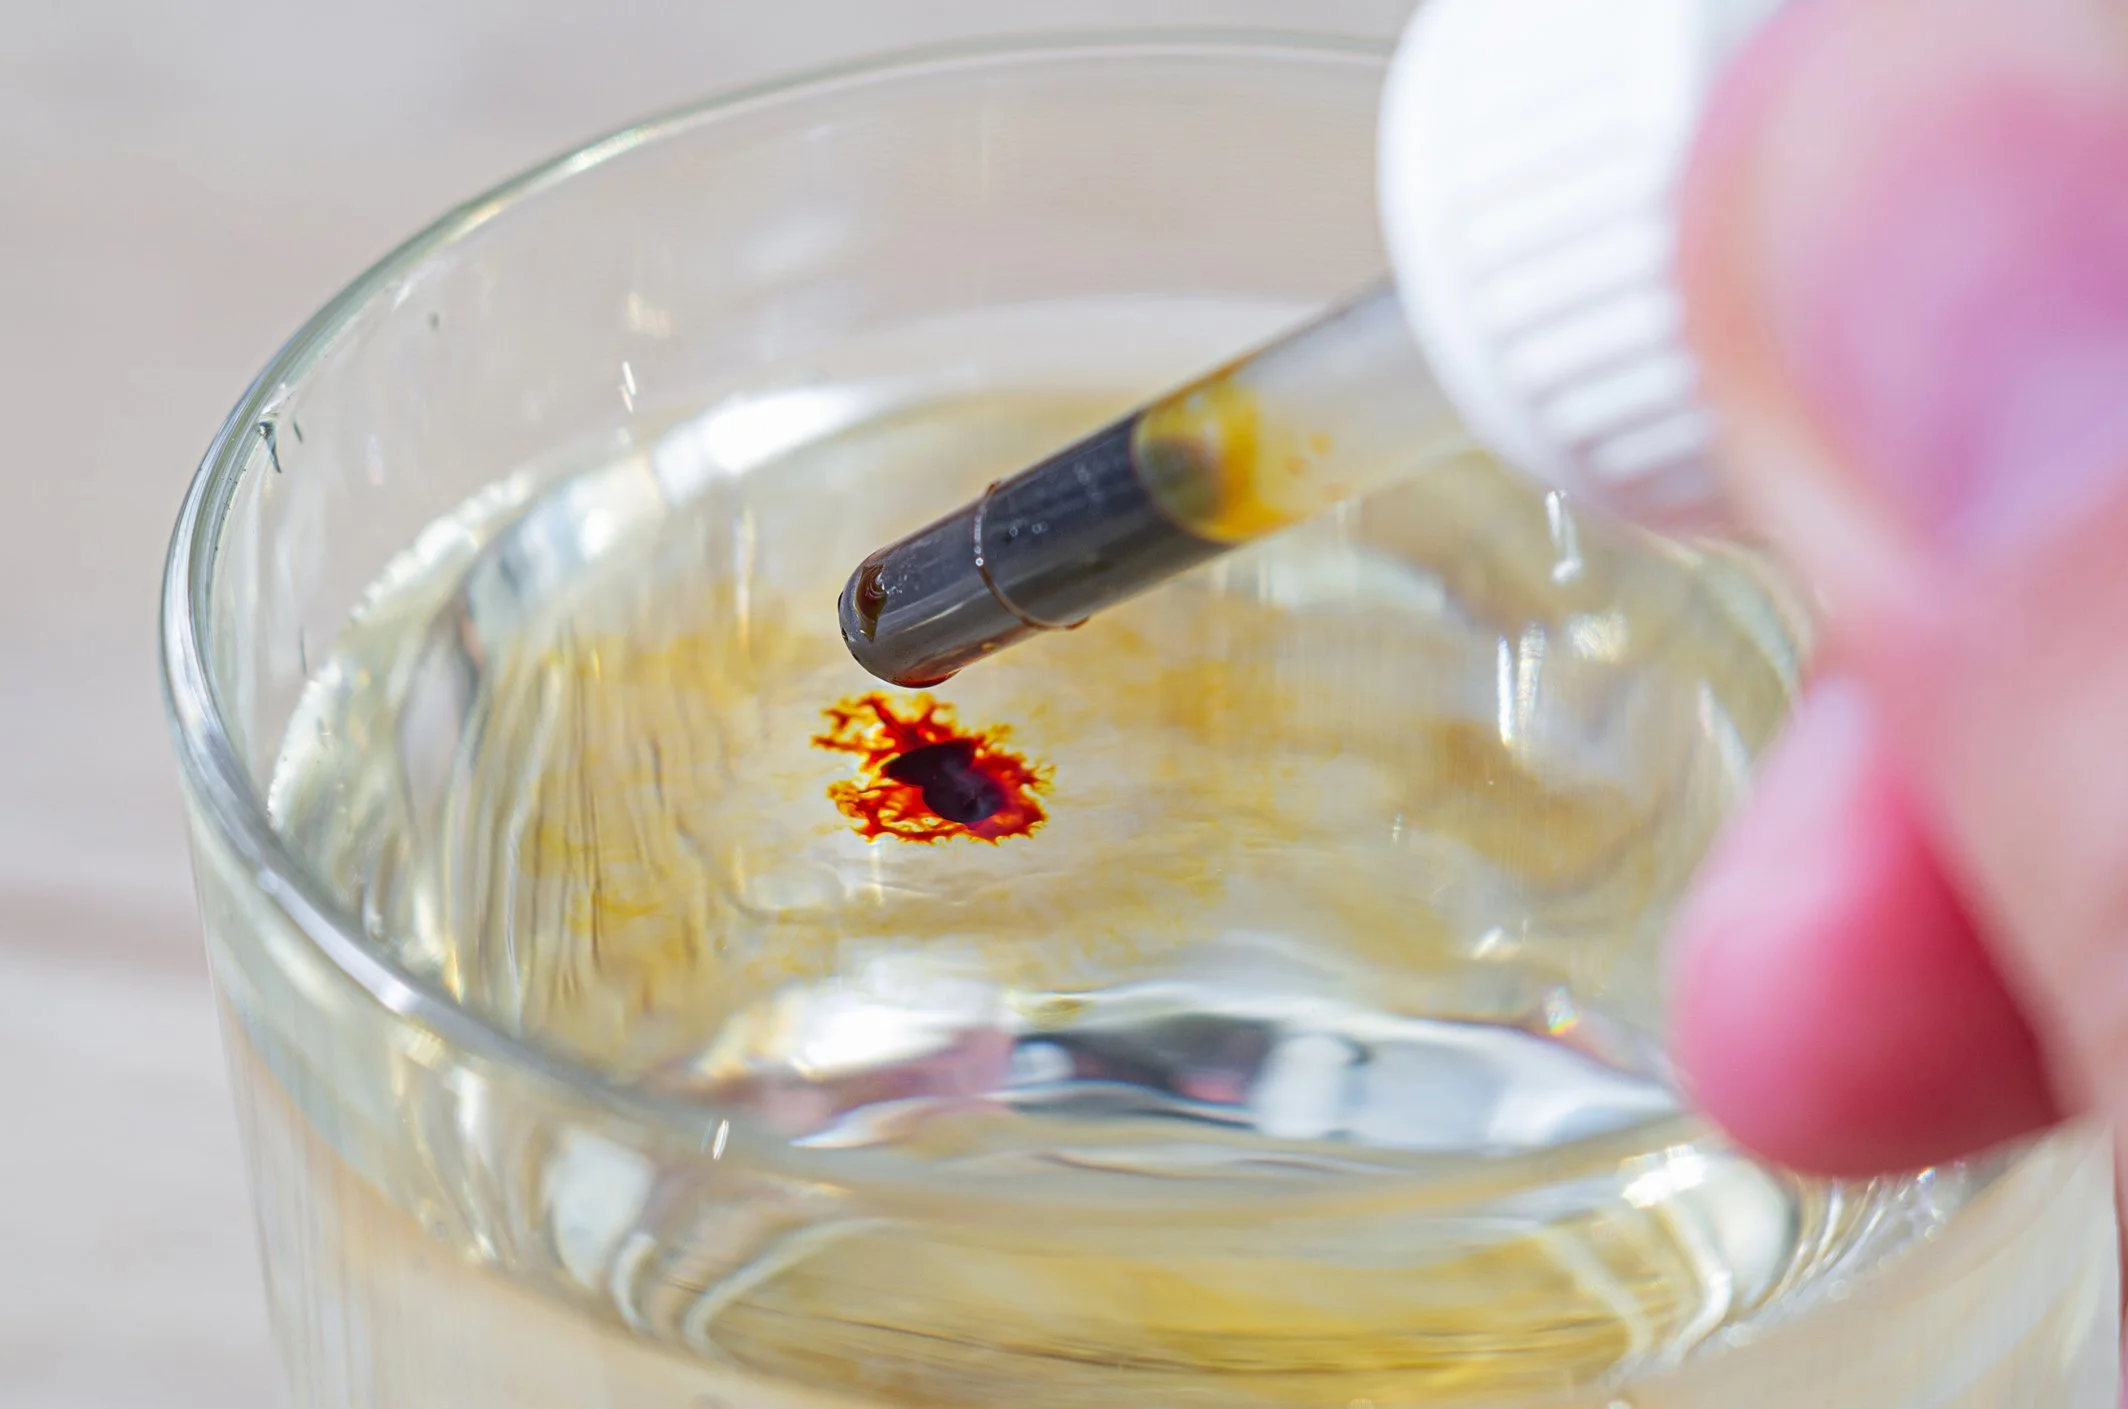
Iodine treatment
Prepare a third bowl with filtered water and add a few drops of iodine.Submerge the plant briefly (typically 1–2 minutes)
This step helps reduce bacteria, fungi, and potential contaminants
Final rinse
Transfer the plant into a final bowl of clean, room-temperature water to rinse off any iodine residue. -

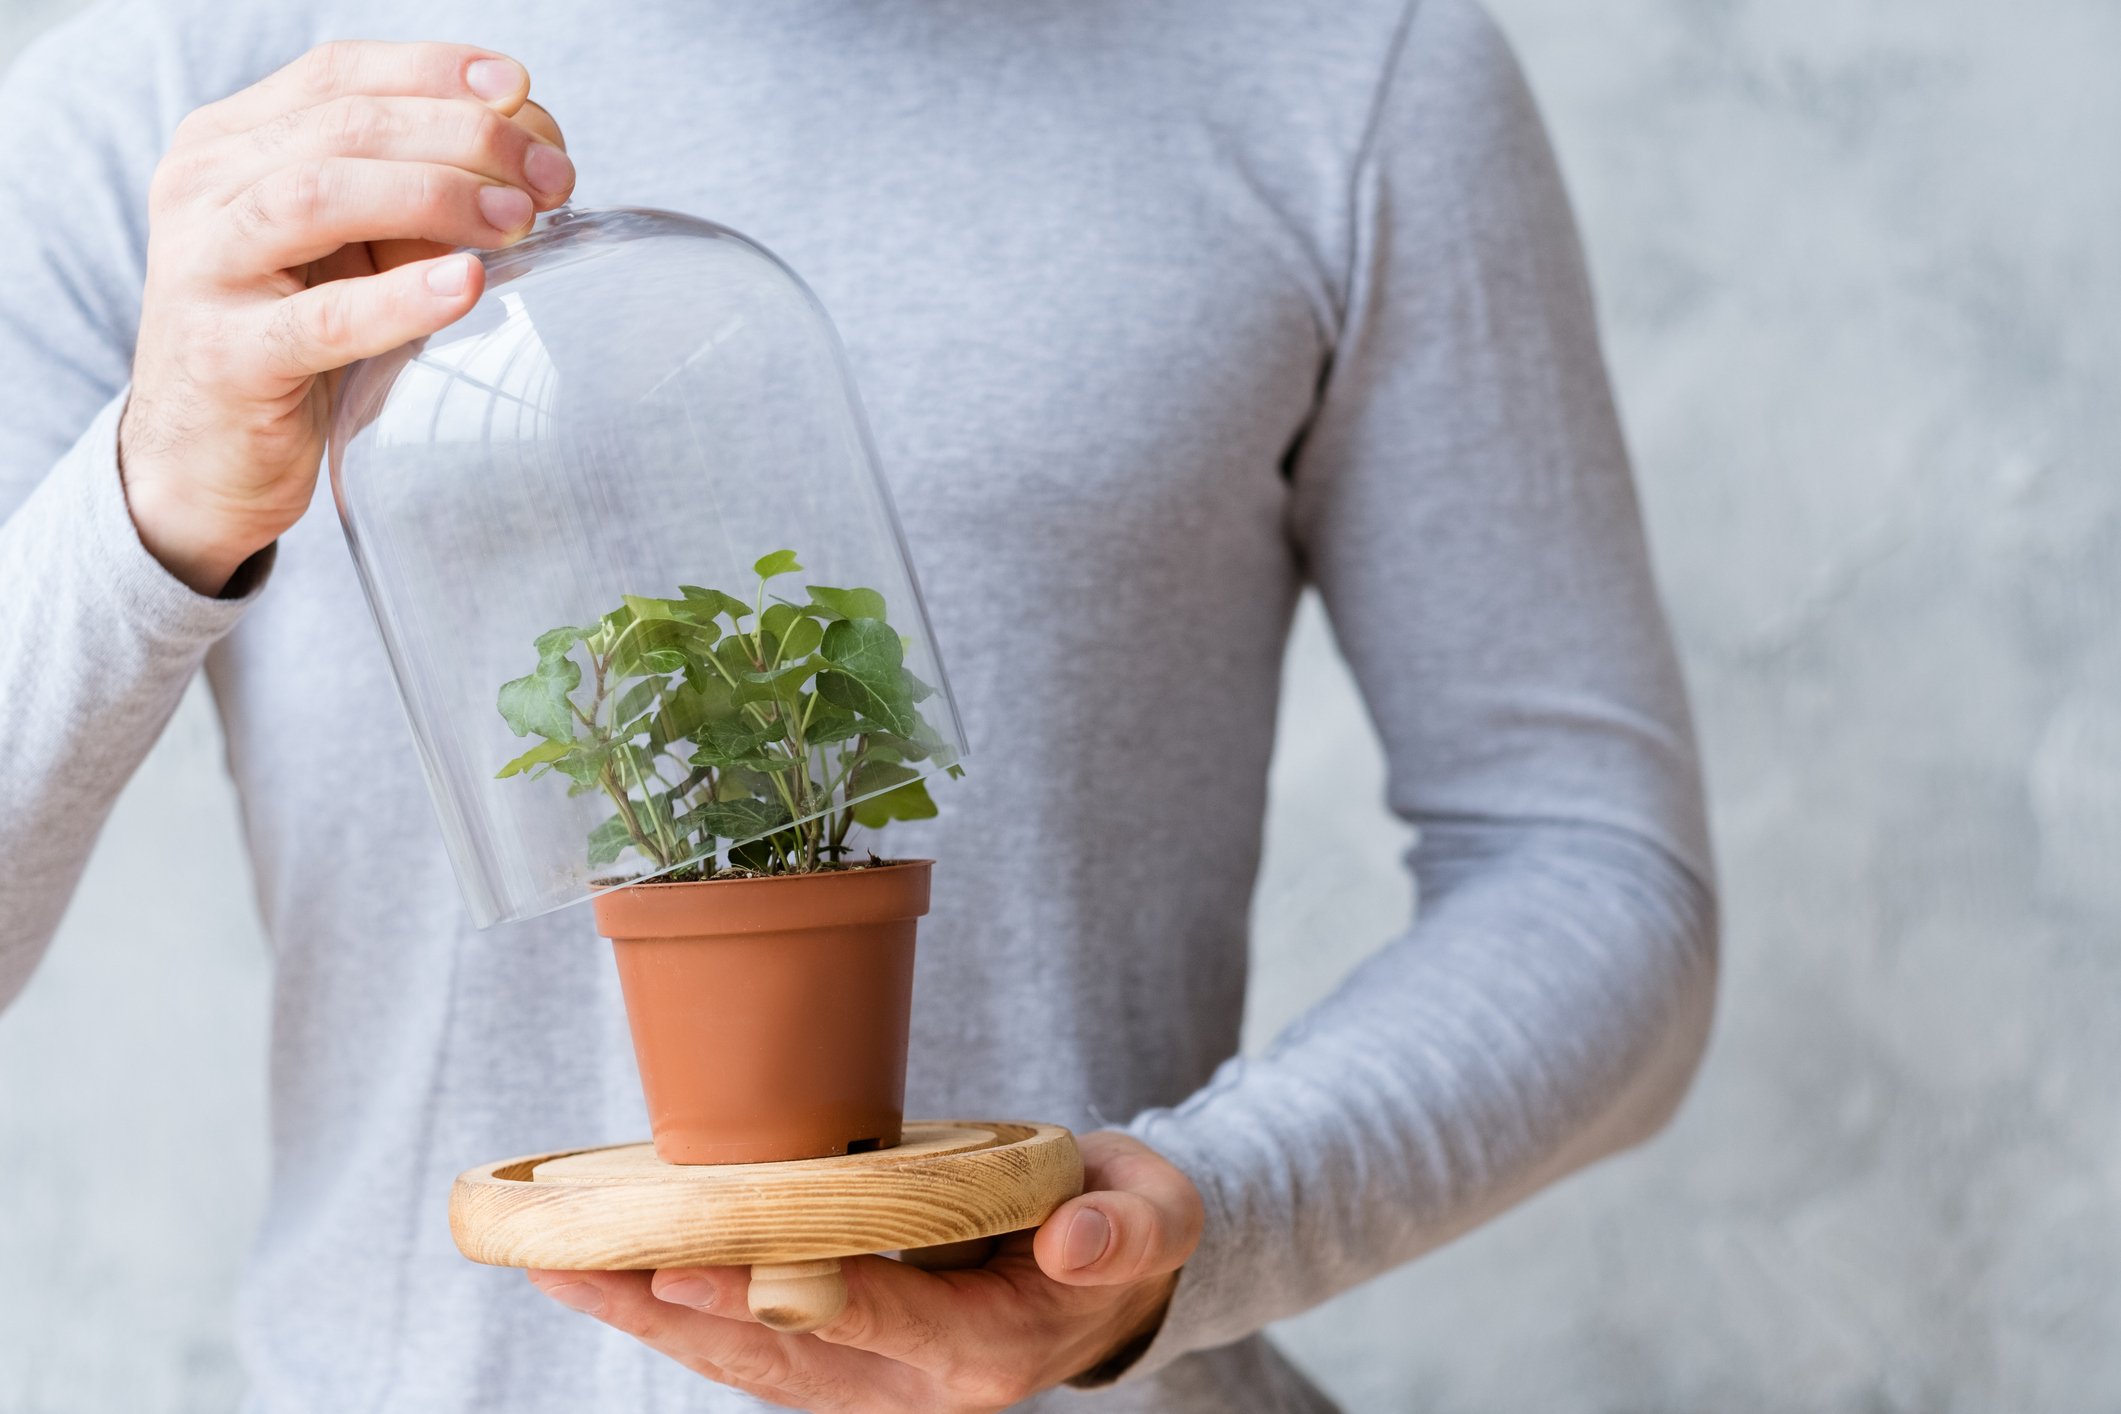
4. Planting & Humidity Setup
Transfer to growing medium
Place the cleaned plant into a pre-moistened brownie plug (or similar medium).
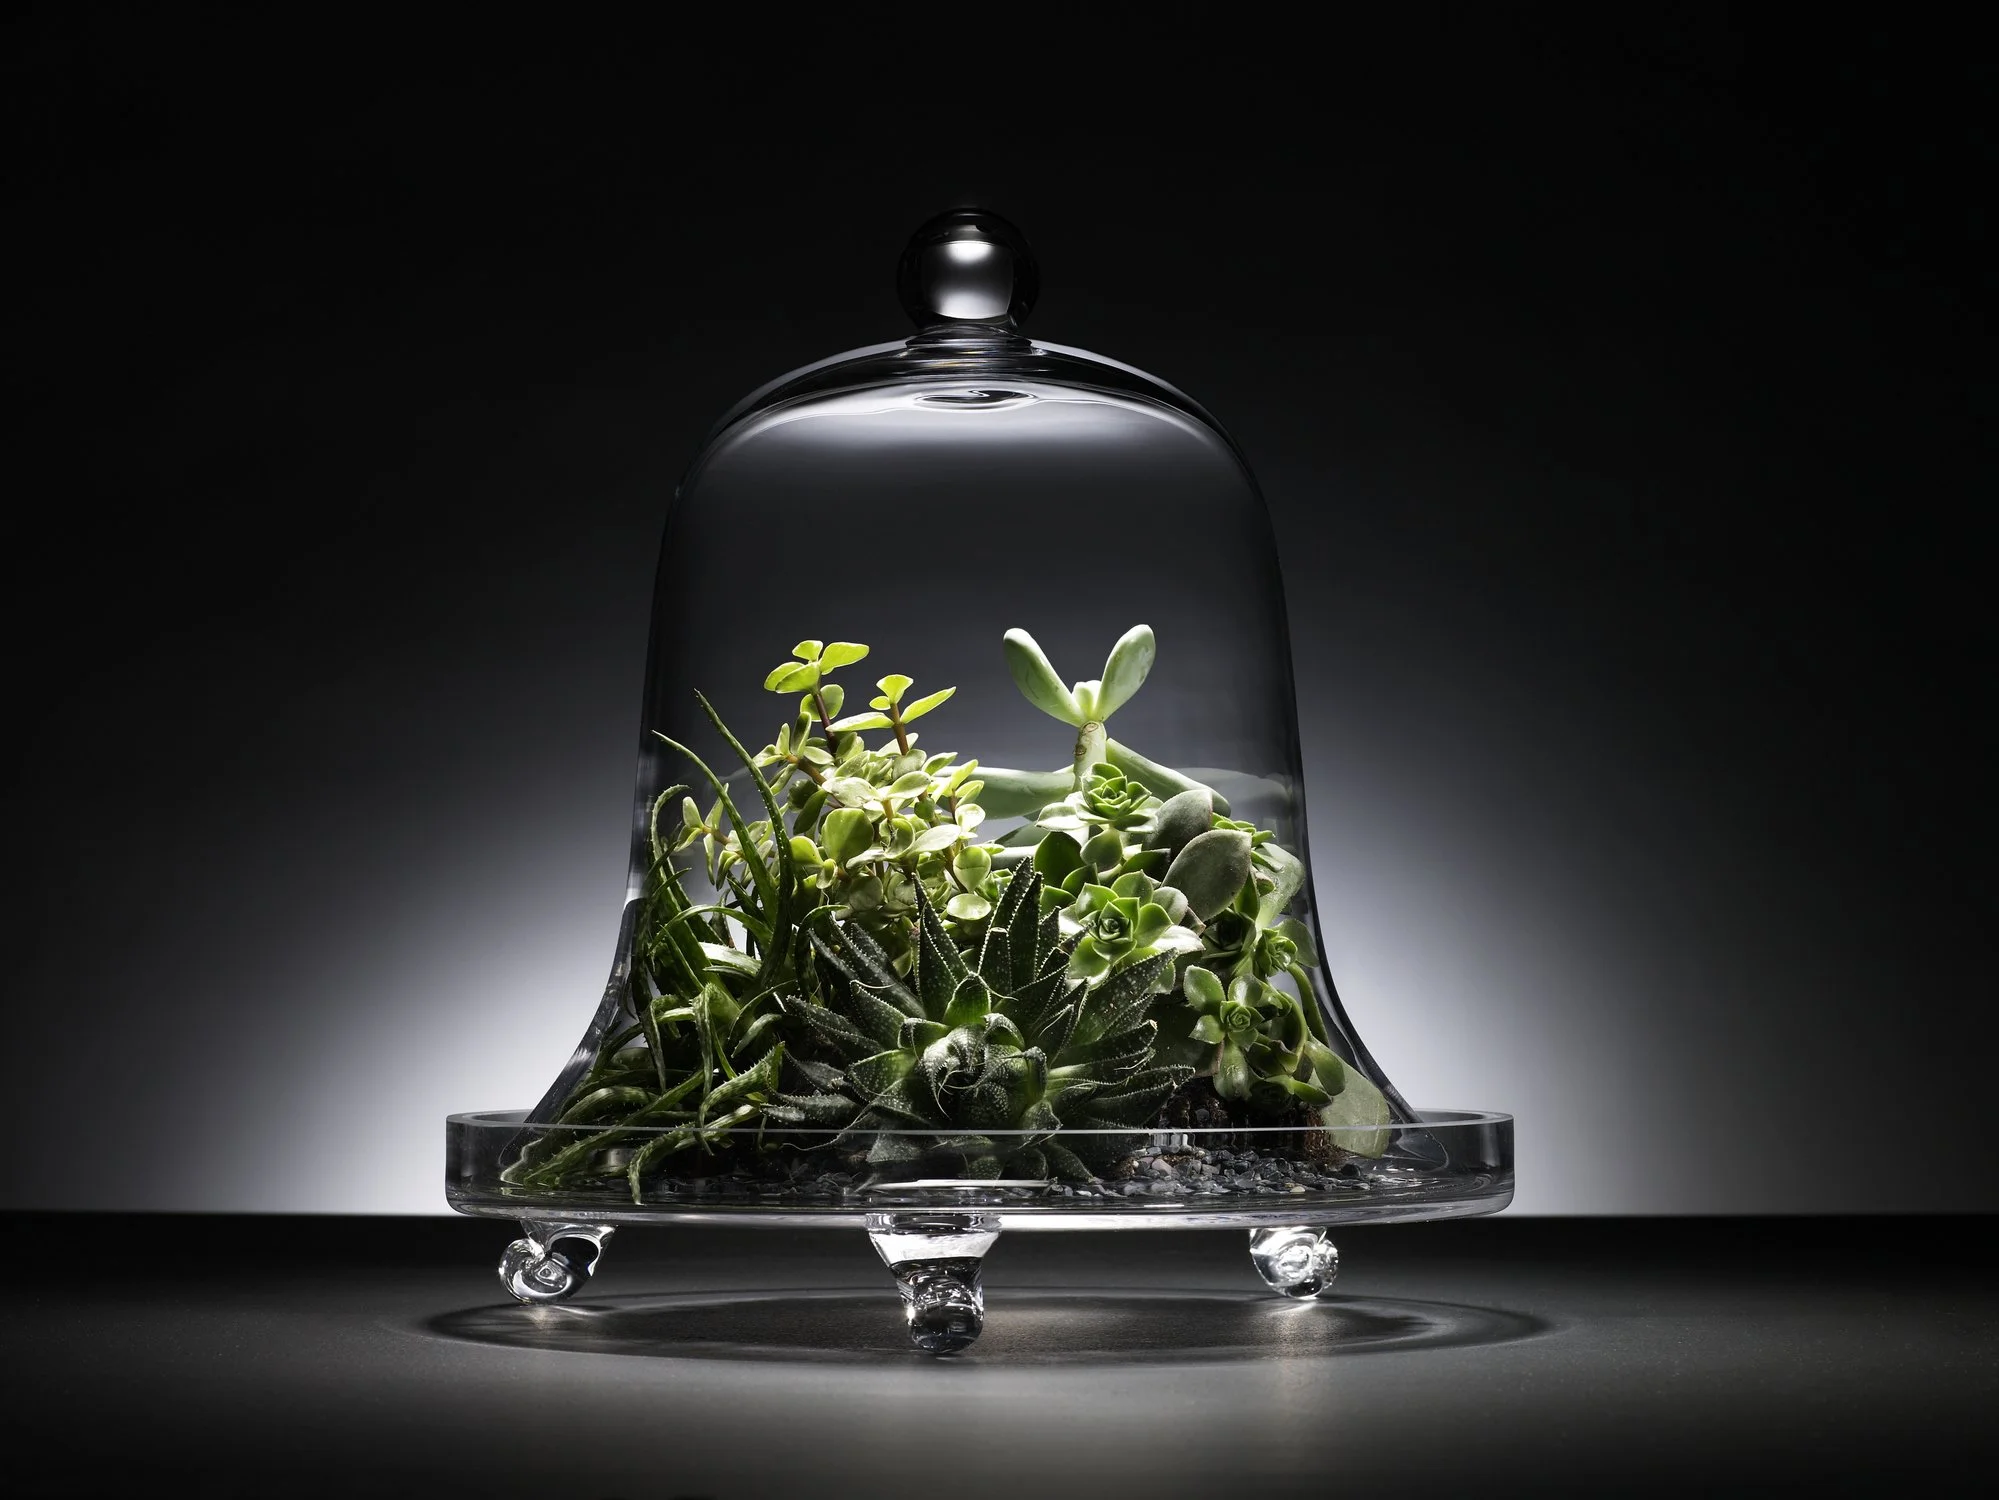
Ensure roots are fully covered and supported.Set up humidity chamber
Place the plug into a holder or tray
Cover with a second container or dome to create a high-humidity environment
Seal the enclosure
Seal any gaps or openings (e.g., with tape) to create a near airtight environment, maintaining high humidity for acclimation. -
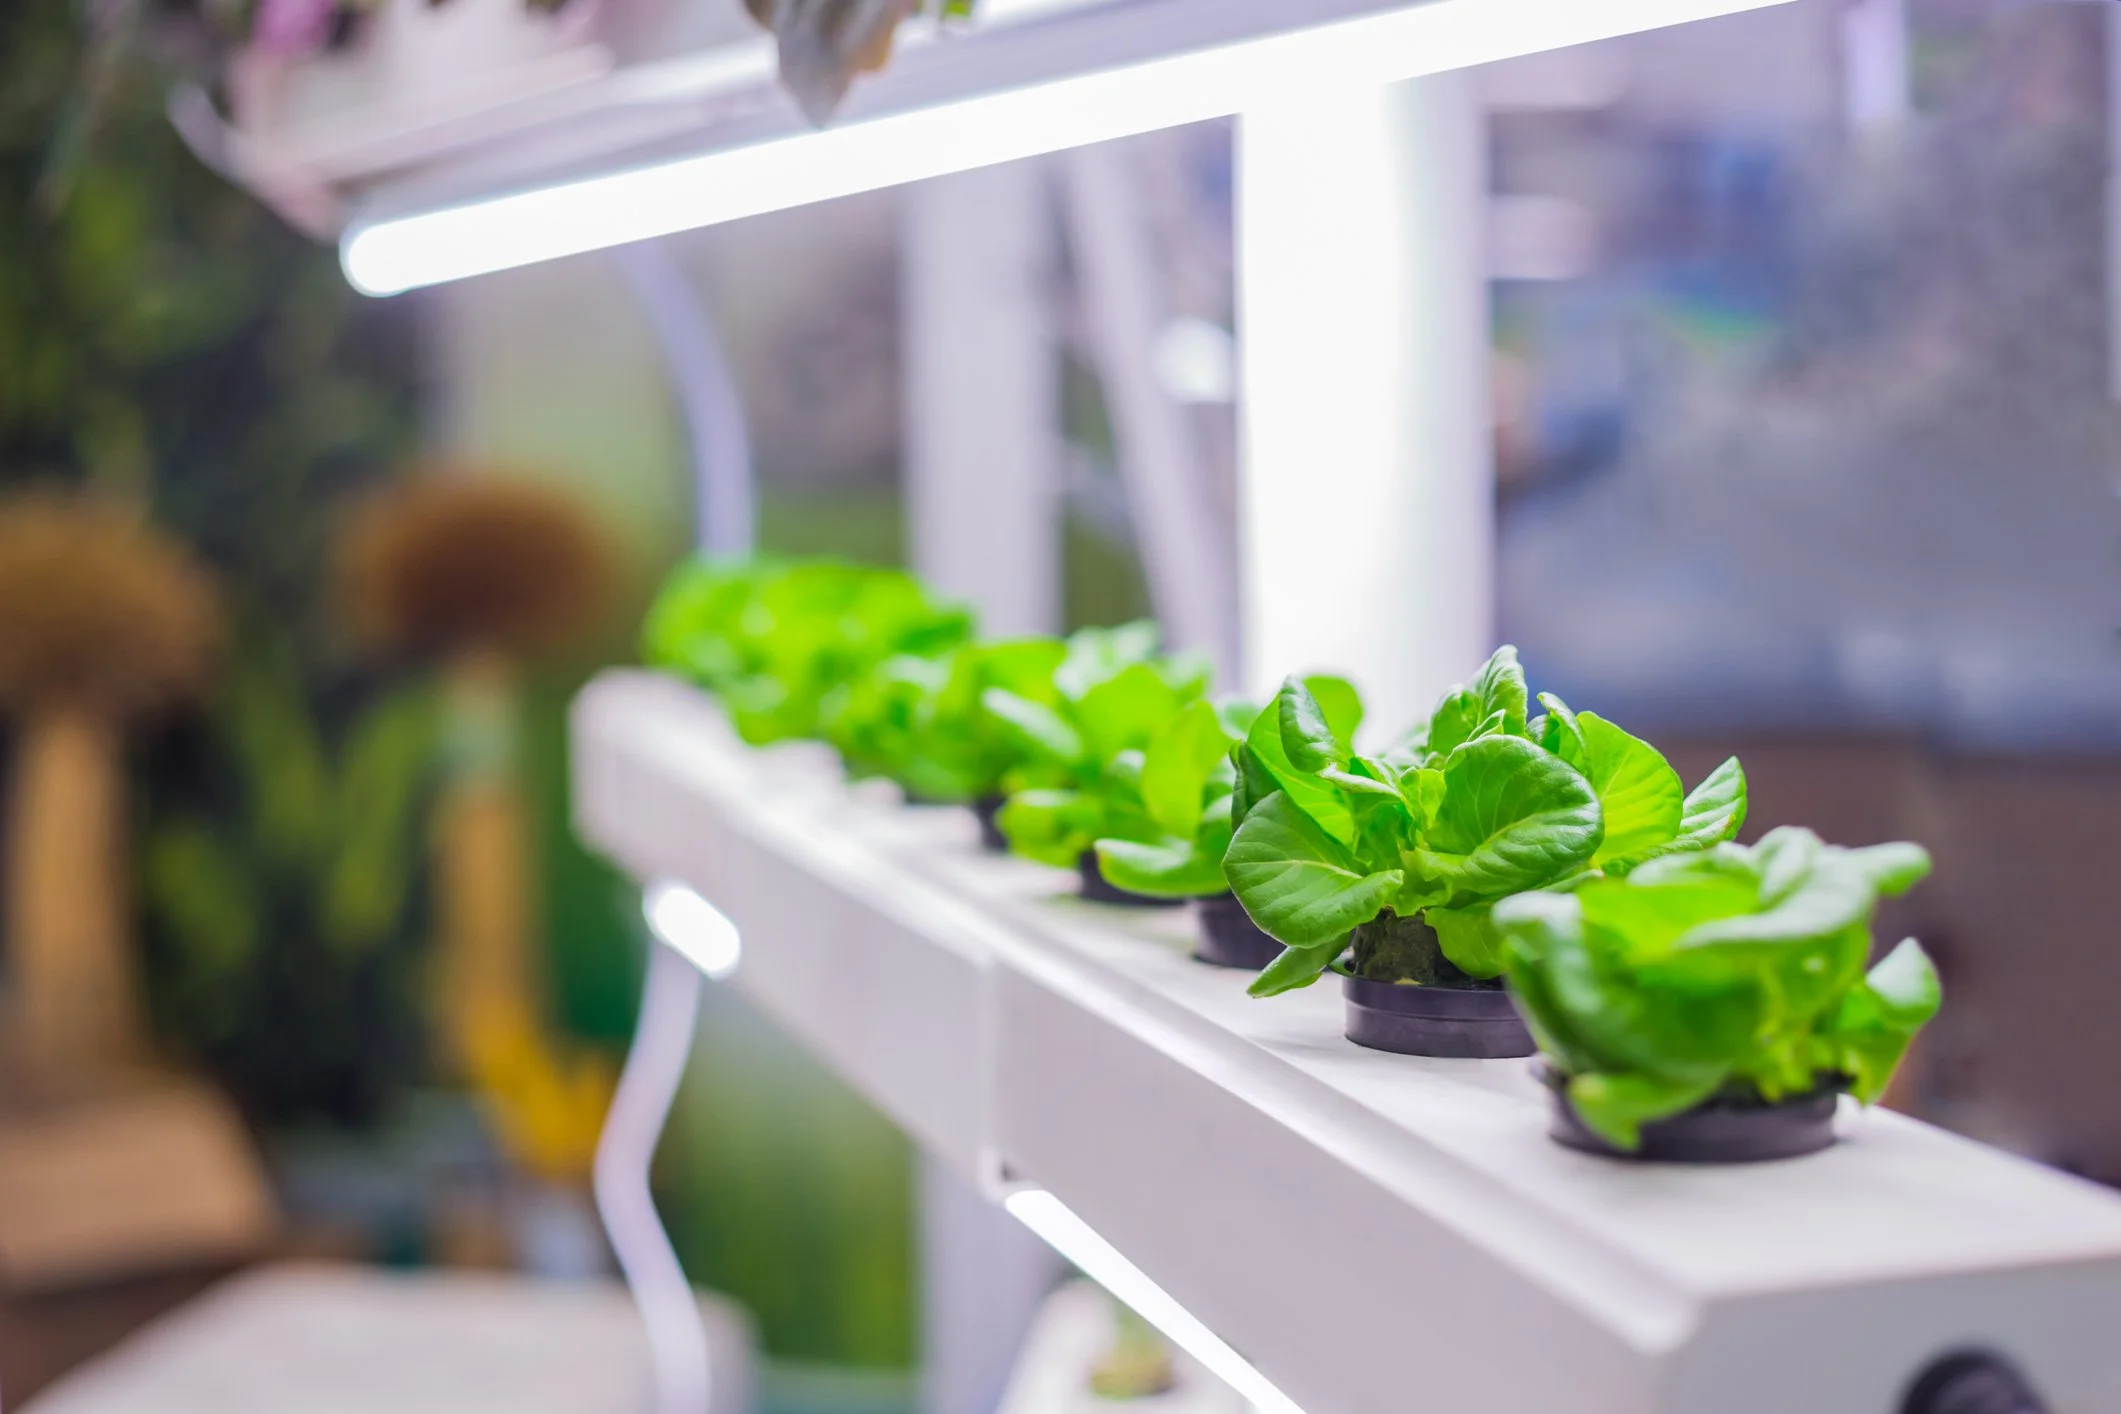
Aftercare Placement:
Place the setup under a grow light with indirect or moderate intensity. Avoid direct, harsh light during the initial acclimation phase.
-
Additional Tips
Maintain high humidity (near 90–100%) for the first 1–2 weeks
Gradually introduce airflow over time to harden the plant
Avoid overwatering—the plug should be moist, not soaked
Monitor for signs of mold or rot during early stages